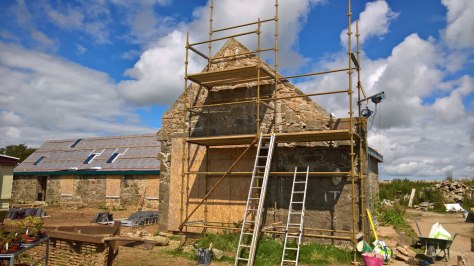
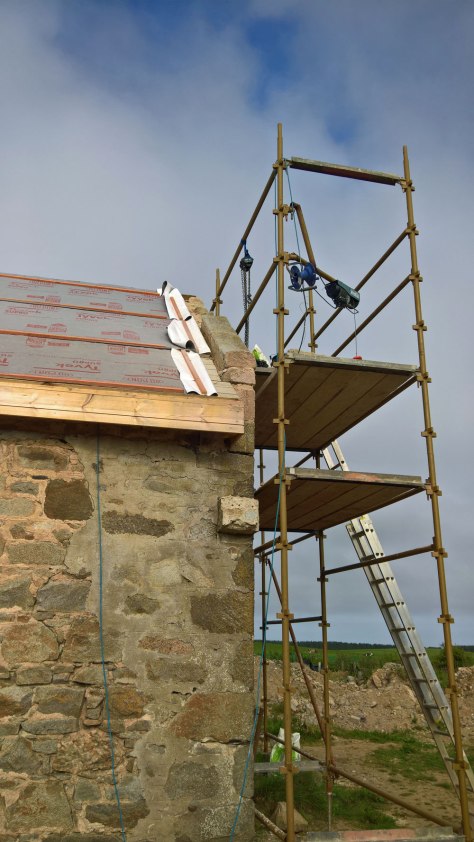
We have been pottering on for weeks now, raising the south gable end on our east wing, to match the raised roofline. Whilst I knew what needed to be done – remove the copings, lay a retaining stone at the correct height for putting the coping back on, adding stonework above the existing, replacing the copings and, for good measure, picking out the cement morter some criminal had
slathered over the stonework – It took me ages to get my head around how to fit it all together. As always, once I had finished, I knew what I needed to do and how to approach it.
About the gable wall
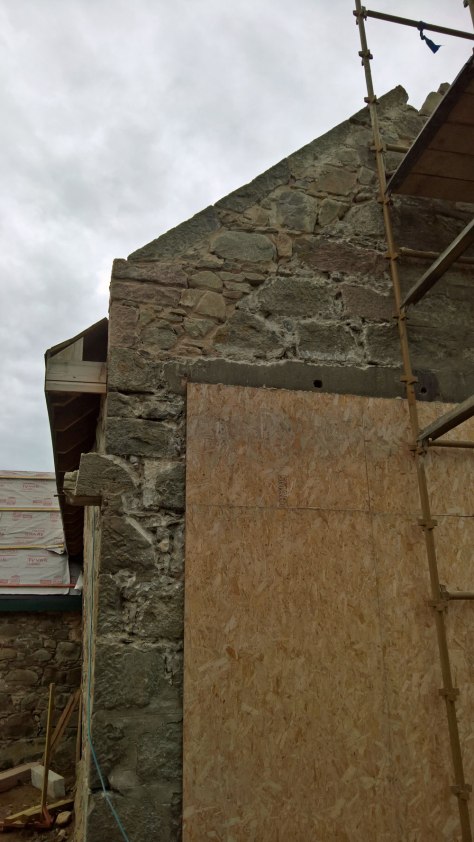
We had raised the wallheads by around 440mm, with four courses of concrete blocks, at the same time the architect had specified the roof to slope at 42 degrees, not 45 degrees. So there was a biggish space to fill in at the eaves and this diminishes at the ridge to around 300mm.
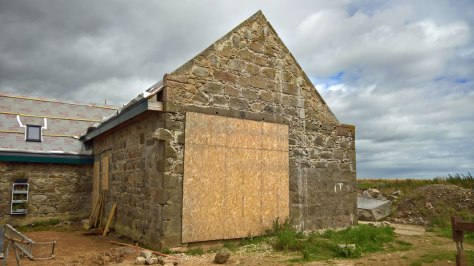
The gable wall is different from the others in that it had been rebuilt at some point with the large opening, which had been designed to have a sliding door across it. The right-hand wall had been built on beyond the building line, to allow the door to slide out the way. So the left hand side had the copings running down to a normal retaining stone, but the right hand side simply ran down onto a concrete slab lying on top of the wall extension. I planned to keep this arrangement, so only needed one retaining stone.
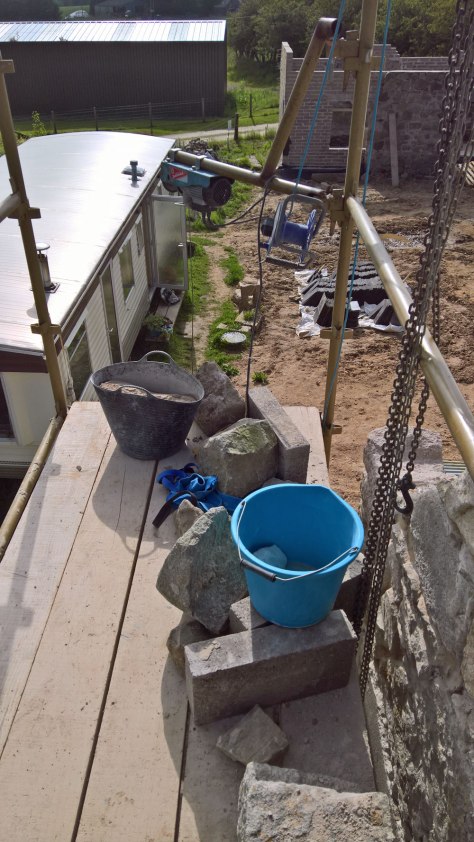
So I gingerly levered the coping stones off the wall with the help of the chain hoist, as I worked up first one side, then the other. I took them down to ground level to clean off the cement mortar they had been pointed with. On reflection, I think the cement mortar is good for pointing the copings, it is much harder (weatherproof), obviously, than lime, but it also blends well with the grey granite. I used the angle grinder to cut a 5mm wide and 25mm deep groove down the inside edge of each coping stone, 30mm from the top edge, to tuck lead flashing into.


Early work
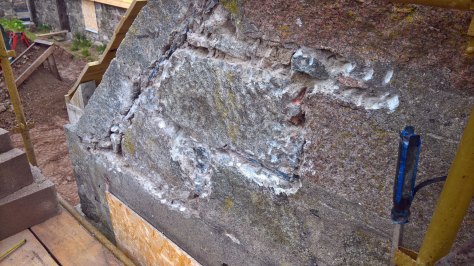
The entire wall had been pointed up with large quantities of extremely tough cement mortar. This gave the impression that the stonework was all large, regular blocks of roughly dressed granite, not the field stone rubble used in the rest of the structure. This was only partly the case, my investigations showed that they had used smaller stones to get courses up to level, but they had worked hard to disguise it. For example, there was not a proper retaining stone at the west side, the bottom end of the first coping was lodged into the gap between two stones.
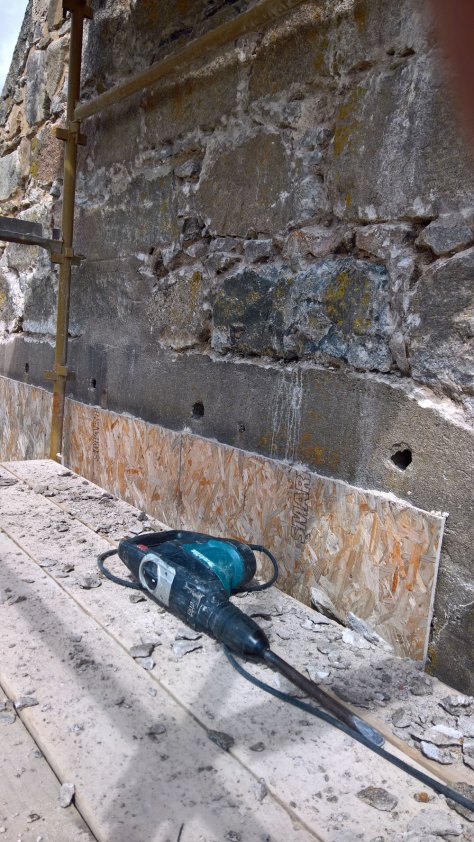
Having started removing the cement render on the north wall of the north wing, I went straight to the Makita rotary hammer to break up the mortar. It did indeed, but was a slow and dirty job that swallowed us several working days I between the other jobs.


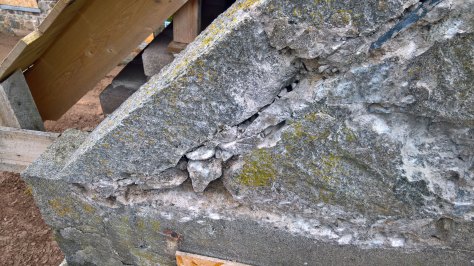
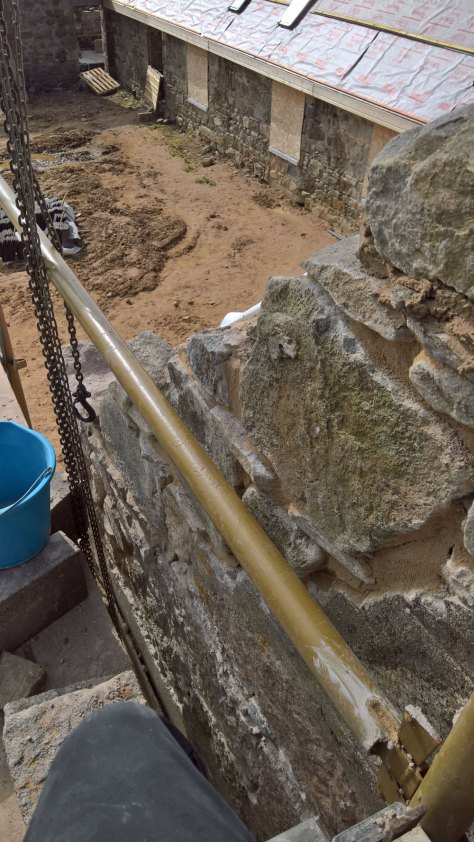
Retaining stone
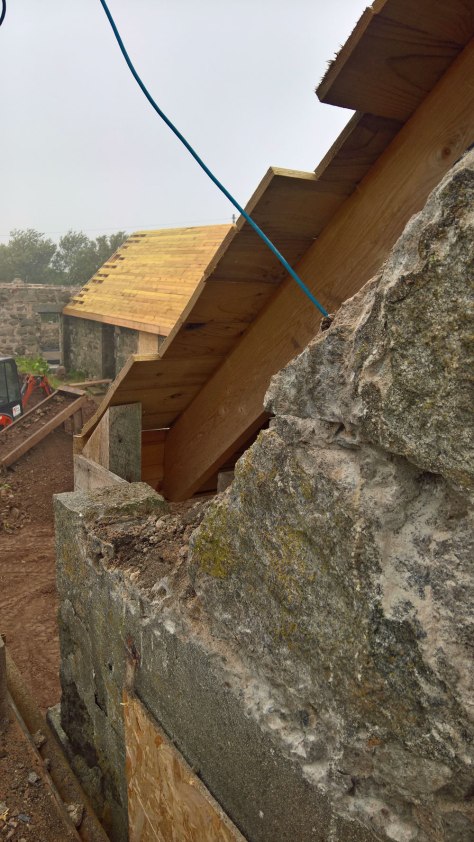
I had a rather rough and worn retaining stone from the old farmhouse. I spent a half day building up the stonework to support it, with a lot of uncertainty about the exact height it needed to go. In the end I cut a template of the stone out of OSB and stuck batten legs on it that I could stand on the original level. I needed to ensure that the perpendicular distance between the sarking and the top lip of the stone was around 150mm. I ended up happy that it was probably about right. I screwed two lengths of strapping between the retaining stone and a large block of the original wall, just in case the new lime mortar had not gone off enough to support the copings.

Backing concrete blockwork
The next step was easy – building the backing concrete blockwork up from the old roof level to the new. I cut corners off the blocks so that they fitted snugly right under the sarking boards.it took 19 courses to reach the blockwork Ric had put in to support the ridgeboard and jack rafters over our gallery area.
Stonework
Building the stonework in front of the blocks was less satisfactory. I aimed to use large square blocks to carry on the style of the gable, but found out that there was not really the room to get more than one block in, with small stones to fill in the slopes. It looked quite messy, but there was not a lot of choice. I did not want to spend days cutting and splitting oversized stones to exact size or breaking out existing stonework to create more room.

Replacing the copings
I left putting the coping stones back on until I had finished the stonework, In retrospect this was not a good idea: I had built up some of the stones so that they were in the way and I had to rebuild several bits to get them out of the way. This added days to the work, waiting for the lime mortar to go off again. Had I fixed the first one back early on, I would have adjusted the stonework to suit.
The lowest coping had a different profile to the higher ones, with a flatter lower surface at the bottom end to rest in the corresponding dish in the retaining stone. My first placing showed that the retaining stone was 20-30mm too high, giving a perpendicular distance between sarking and coping of around 180mm. I took the angle grinder to the bearing point on the retaining stone and cut out about 20mm. This time the perpendicular distance was 160mm and this happened to be what it was at the top end of the stone, so I went with it. I spent some 30 minutes tweaking the position so that the slope was exactly that of the sarking, that the stone was exactly horizontal across the width and that it went exactly up the outside edge of the stonework. I filled the gaps under the coping stone with mortar and with small stones on the outside face. I left the stone to start to go off, then started the second one. I had wrongly supposed that this would slide down onto the first one and apply pressure to it, in fact the bearing points on the wall took the strain and I was able to leave a maximum 10mm gap between stones. I used one small stone and pieces of slate at the bottom to get the coping aligned exactly with the top of the first stone and two at the top to get the top exactly level, at the same slope as the roof and first coping and exactly lined up with the edge of the stonework. And so I worked up to the apex of the gable wall, leaving a respectable line of parapet.


The other half of the gable wall
With the left-hand slope sorted, we moved one bay of scaffolding to the other side and I started on the right-hand wall. It was more of the same except that I did not need to put in a retaining stone for the coping. Instead I took the angle grinder to the concrete slab across the top of the extended piece of wall and created a shallow depression to lodge the first coping into This did lengthen the coping by another stone, I had to pillage one from one of the other sets. This is a problem, made worse because the other end of the east wing had lost the bottom coping stones before we bought the property. We have a couple of stones that could be fashioned into coping, it would be quite a bit of work. We have a couple of spare lengths of pink coping, but it would probably not be a good look mixing colours.